Hello,
Today we will be going over the basic settings and configuration for installing and configuring FileZilla to connect with your hosting account for FTP. FileZilla is the number 1 opensource FTP solution that allows you to quickly, and securely upload your files and folders from your local machine to your hosting account. Your cPanel does have a built-in file manager, however, many users find it much easier to connect using an FTP client, especially when moving large files, or many files.
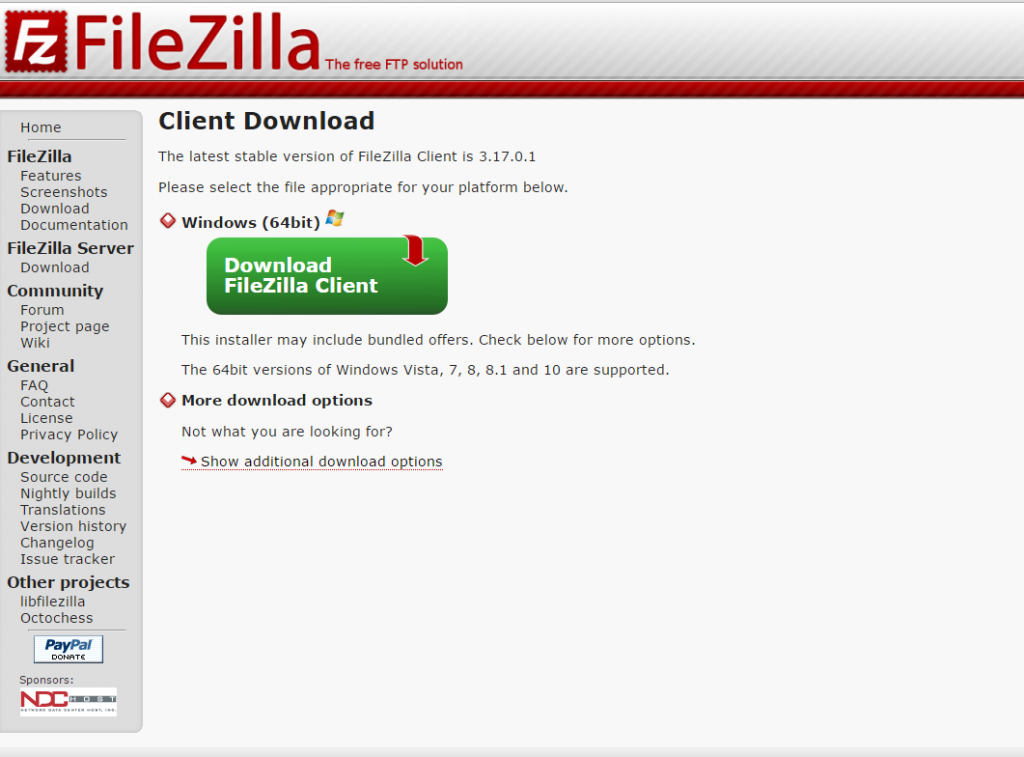
First, we’ll start by downloading the FileZilla Client (please note there are both server and client versions, you will want to choose the “client” install):

After choosing “Client Download” you will be taken to the following screen:
Complete the download/installation process and you are ready to input your server settings:
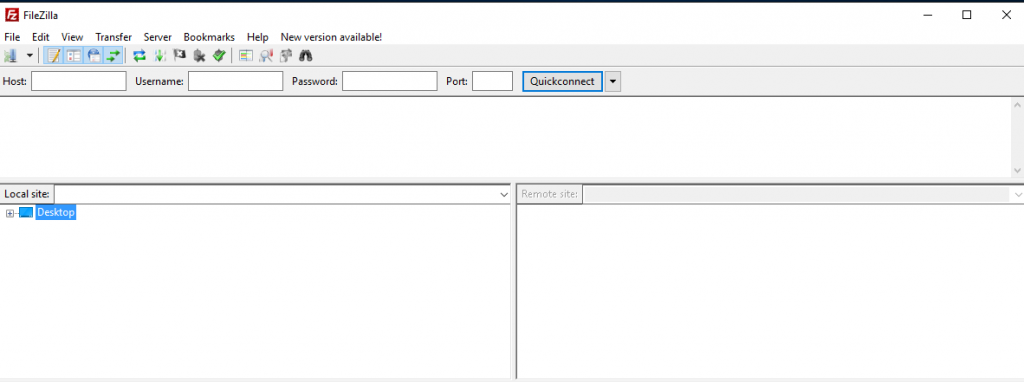
You may now enter your connection details in the ‘Quickconnect’ fields:
Host: domain.com or servername.hostboogie.com (replacing ‘servername’ with the name of the server your account is hosted on).
Username: Your cPanel username. Please note that your billing username is not the same as your cPanel username. (cPanel username is typically the first 8 letters of your domain name).
Password: The password you created at the time of signup.
Port: 21
That’s it! You will now see a directory of files currently uploaded to your hosting account. Now simply drag files from the left of the above image (your local computer) to the right (remote site) and the file transfer will begin.
For SFTP please use the following settings:
Host: servername.hostboogie.com (replacing ‘servername’ with the name of your server).
Username: cPanel username
Password: cPanel password
Port: 22